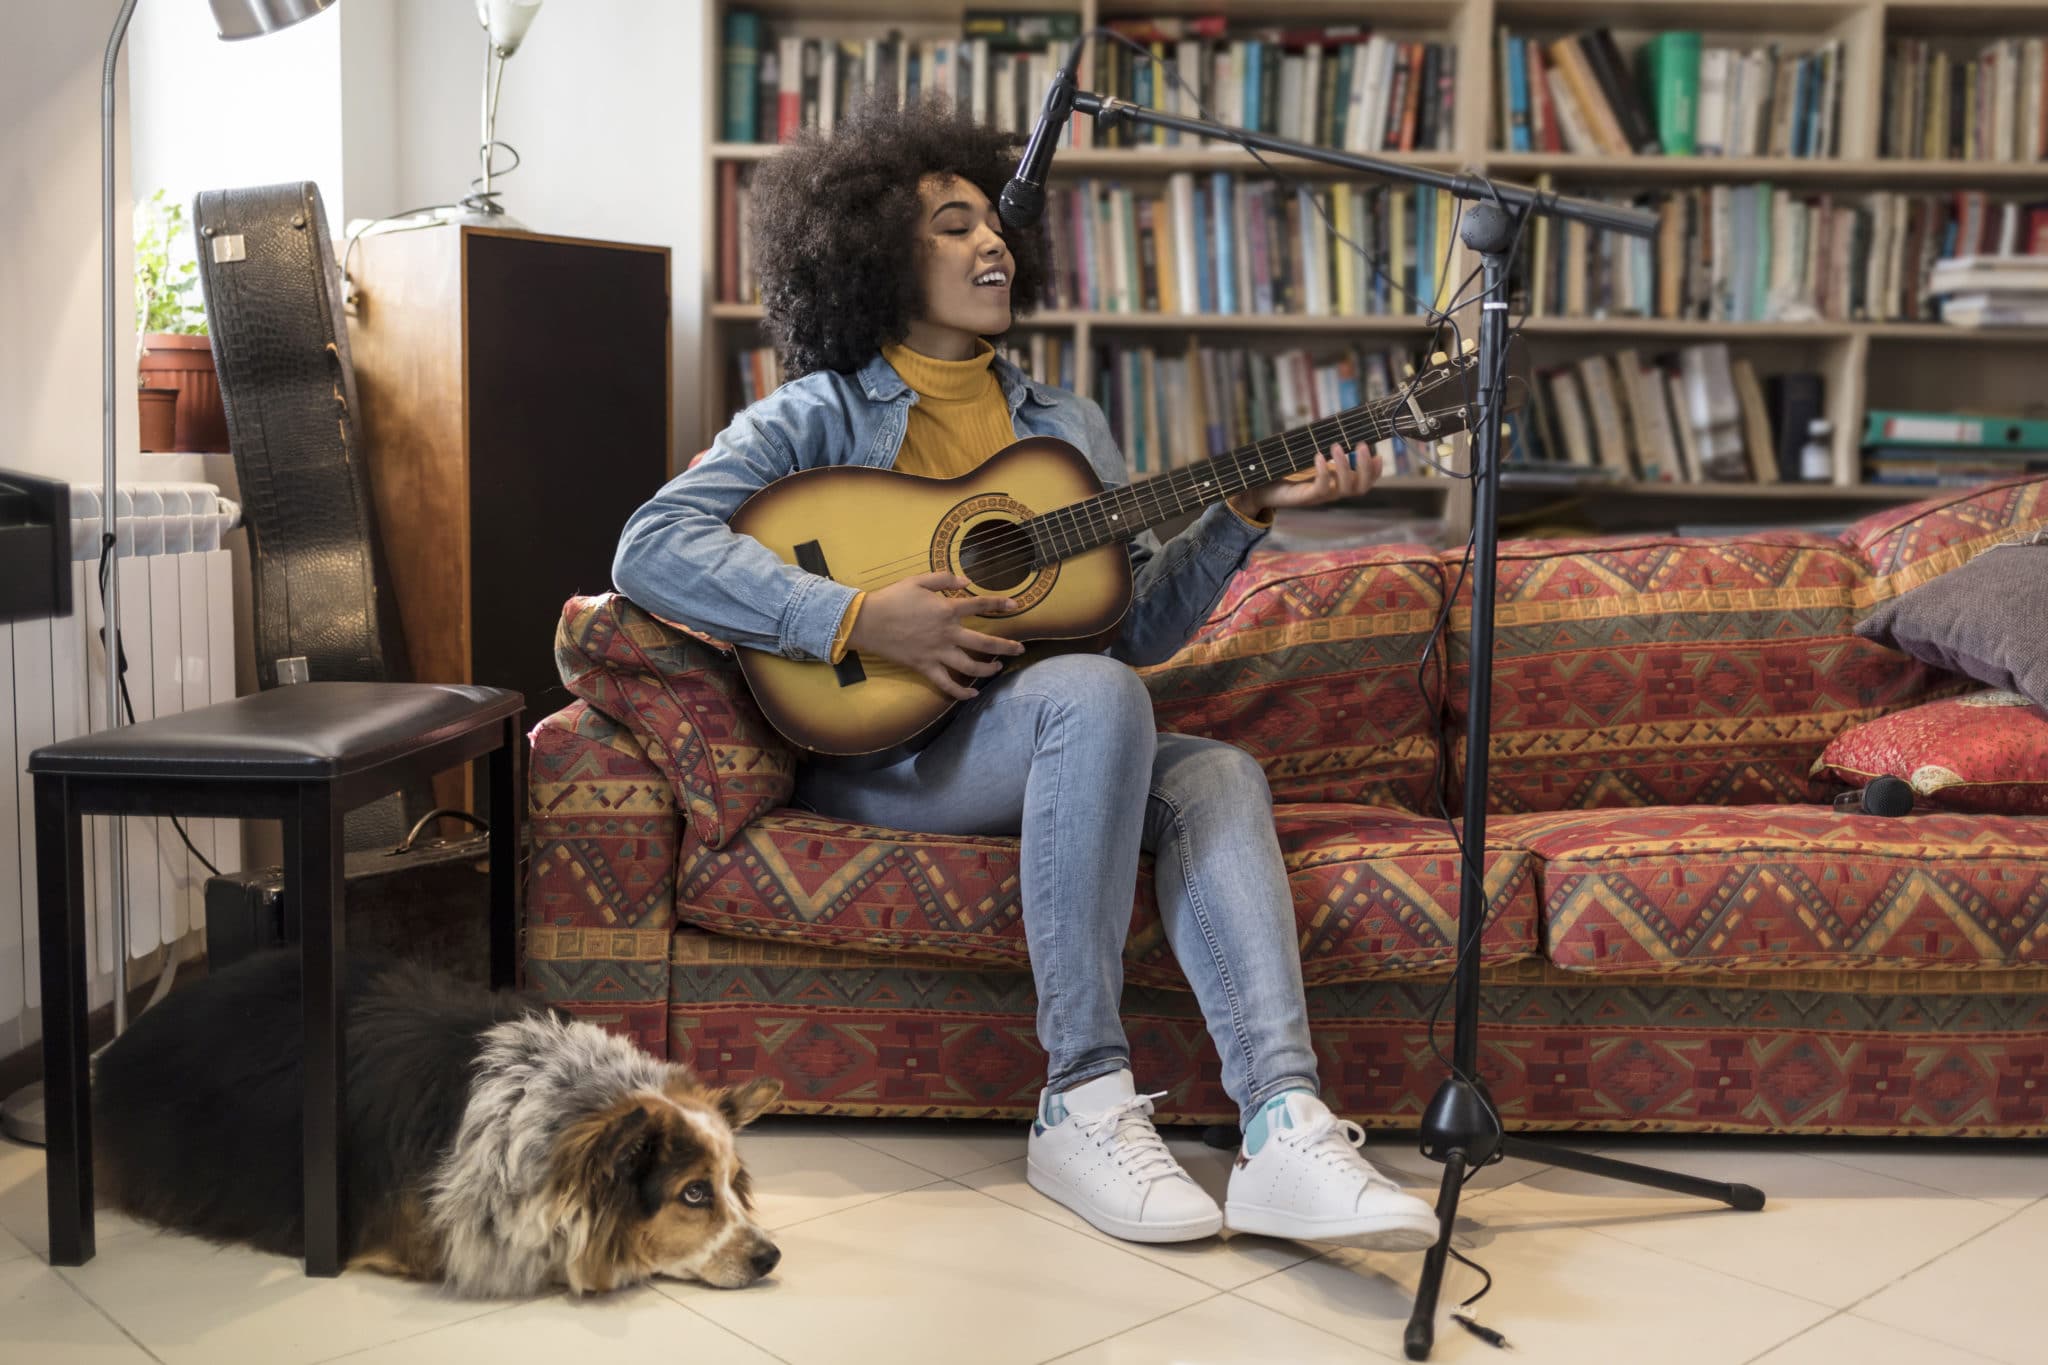
Owning a home recording studio isn’t just for the rich and famous. You can record and mix tracks in your own home with only a few pieces of equipment and a quiet, sound-insulated room.
Here are 10 things you need to set up your very own home recording studio.
1. Buy a Computer To Process the Audio You’re Recording
The first step is to pick a computer to process the audio you’re recording. You should look for a computer with a powerful central processing unit (CPU) and at least 8GB of RAM. RAM is the digital memory that handles dynamic processing and it powers video and audio processing, so it’s a very important component of your home recording studio.
A system with a dedicated video card will also help process video edits more smoothly and without crashing or freezing. Many artists and creatives prefer to use an iMac. These computers are designed to remain stable when you’re working with audio and videos.
If you think you may be editing tracks outside of your home recording studio, consider the laptop version of the iMac, the MacBook Pro. A desktop is the best cost-effective option for home recording studios, but before you buy you should think about whether you’ll need the flexibility of a laptop at some point.
2. Choose a Digital Audio Workstation To Create Your Music
A digital audio workstation (DAW) is a software program for creating music. A DAW is arguably the most important tool in your home recording studio. Many consider it a must-have if you’re working with audio because it allows you to:
- Compose
- Produce
- Record
- Mix
- Edit
We recommend you buy a high-end DAW like Ableton Live 11. You can sign up for a free trial to start making music and see if you like the program before you commit.
Luckily, Ableton also offers three stripped-down versions that have the basics you need at more affordable prices.
3. Select an Audio Interface To Connect the Microphone, Speakers & Headphones to Your Computer
The next piece you need in your home recording studio is an audio interface. An audio interface connects the microphone, speakers, and headphones to your computer. We recommend a We recommend a USB audio interface like the Focusrite 2i2. This interface is simple for beginners to use and has enough features for you to grow your craft.
Later, you can upgrade to an interface with more features like the Apollo Twin MkII. This processor has better preamps and converters, which are important components to your interface. Preamps help switch between inputs and help boost the signal for processing. Converters convert input formats into other formats, so you end up mixing the same types of audio inputs.
4. Purchase the Highest-Quality Microphones You Can Afford
Any sound producer knows that a mix is only as good as the original recording. This is why it’s important to buy the best microphone you can afford for your home recording studio. A great all-around microphone option is the Shure SM7B, which professional musicians and podcasters rely on. The price tag may seem a little high for a mic, but if you want to produce quality audio in your home recording studio, you really can’t cut corners here.
And if you want to record acoustic music, we recommend a large-diaphragm condenser. It sounds great on vocals, acoustic guitars, and other acoustic sources. The sE Electronics sE2200 is a revered microphone for crystal-clear recordings and durability, perfect for your acoustic tracks.
5. Outfit Your Home Recording Studio With More Microphone Cables Than You Think You Need
You’ll likely need more microphone cables than you expect. You can pick the best if you want, but there’s no need to get the most expensive cable.
A mid-range cable like Mogami’s CorePlus mic cable will provide solid sound quality, and you can buy it in various sizes for maximum versatility. You can find Mogami’s CorePlus mic cable in various music and audio stores nationwide.
6. Support Your Microphone With a Sturdy Mic Stand
A quality microphone stand provides a solid, bump-free platform for your microphone and helps keep your recordings cleaner. They also help you to position the mic exactly where you want it for your instrument or voice.
The cheapest microphone stands have a short lifespan, which is why a quality microphone stand like the MC-125 by Ultimate Support is a good investment.
But if you’re looking for a bargain, we recommend the Samson MK-10 lightweight microphone boom stand. It’s perfect for lightweight mics. It also has better quality and durability than other cheaper boom stands.
7. Filter Out Unwanted Mount Sounds With a Pop Filter
A pop filter is perhaps the cheapest and easiest way to ensure high-quality, clean recordings. This is especially true when recording vocals. A pop filter is a mesh screen you place in front of your microphone. Its job is to reduce the amount of “plosives” in your home recording. Plosives are the little “popping” sounds you make when you speak or sing hard consonants like Ps or Ts. A pop filter is inexpensive and there’s no question that it improves the quality of your sound recording.
Gator makes an affordable pop filter that will certainly help to elevate your audio recordings.
8. Go for Headphones When Mixing & Recording
There are two types of headphones: closed-back and open-back. Open-back headphones let sound out of the ear cuffs, and therefore feel more natural. Closed-back headphones cup your ears and seal in sound.
Closed-back headphones are better for monitoring when you’re recording your music in your home recording studio. A solid choice for closed-back headphones are the HD 280 Pro model from Sennheiser. These headphones have a good frequency response, which means they can handle a wide range of sound frequencies and allow you to hear every little note in your recording.
Open-back headphones are better for mixing your music because they sound more natural and give you more of a sense of the way each track and channel mixes with each other. Audio-Technica ATH-AD500X headphones are a great open-back option for that natural sound reproduction. They are also extremely comfortable as they don’t apply pressure to your ears.
9. Consider Studio Monitor Speakers To Hear Your Music
Studio monitors are small and affordable speakers that allow you to easily listen and mix tracks as you record. For a quality monitor, consider the KRK Rokit 5 G4. This is an affordable high-end studio monitor speaker that’s scientifically designed to give you the best sound wherever you position in it your home recording studio.
10. Don’t Forget to Soundproof Your Home Recording Studio
Your home recording studio is not complete without a few finishing touches to help seal off outside noises:
These sound-insulating materials help you record more cleanly and can really make a difference to the quality of your recordings.
Now that you’ve built your home recording studio you can start recording, mixing, editing, and composing your music without leaving the house.


